
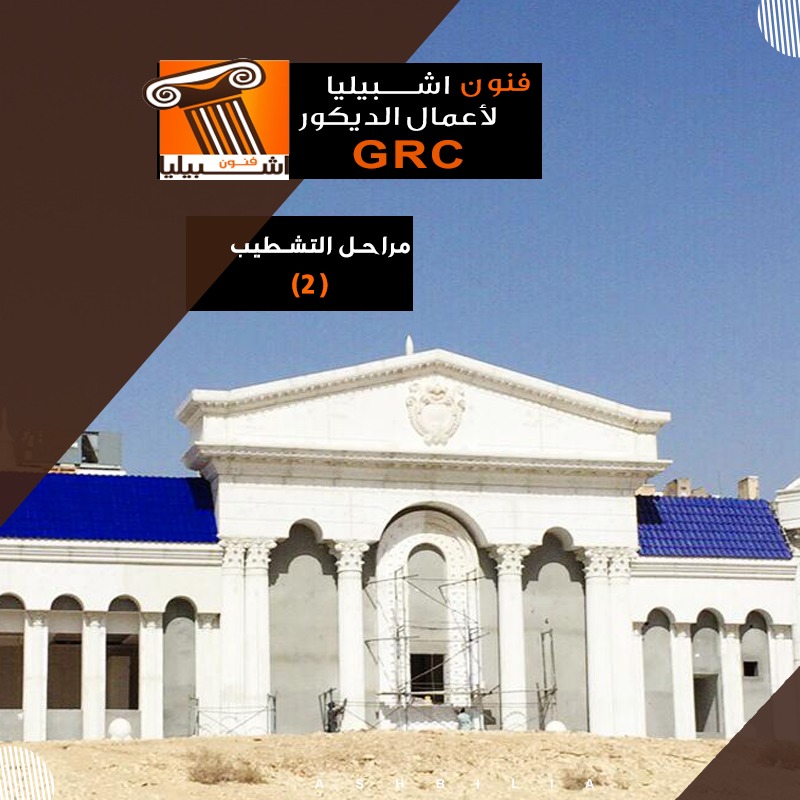
Finishing Stages from A to Z – Part Two —
In the previous article, we agreed on the importance of sequencing finishing steps and avoiding mixing stages to prevent rework and additional costs.
Proper sequencing ensures the finishing reflects the personal taste of the residents and their social status.
In Part One, we stopped after the electrician completed connecting power to all electrical points and the main panel. Today, we continue with the remaining steps, maintaining the order according to engineering standards.
Finishing Stages – Part Two :-
- The plumber prepares the plans and reviews them with the owner, determining the locations of toilets, sinks, and showers. The location of each point must be confirmed before breaking for pipe installations.
- Once the plans are confirmed, the plumber performs the necessary breaking inside the bathrooms.
- After all breaking work by the plumber and electrician is done, the site is cleaned again and all debris is removed.
- The electrician pulls and connects wires, considering wire thickness according to the device and grounding requirements.
- The plumber installs plumbing inside the bathrooms, connecting supply lines from the roof to each bathroom separately, usually using 1-inch pipes for bathrooms and kitchen.
- After completion, metal door frames for the main entrance, roof doors, and street doors are installed and filled with cement mix for stability.
- Coordinate with the gas company to determine the location of the home gas cylinder.
- Agree with a plastering company, sign a contract outlining responsibilities, completion time, and ensure walls and ceilings are cleaned from wood or bags, closing all openings in walls.
- Ensure corner mesh is installed at corners or sharp edges, secured with steel nails, and washers placed on each nail for excellent fixation.
- Then, apply a plaster scratch coat on the walls using quality chemical additives to enhance adhesion.
- Spray the walls with potable water for 6 to 7 days.
- The plastering contractor sets guides on the walls using strings and cement points to ensure a level and even plaster thickness.
- Begin plastering from the roof down to the ground floor. Plaster the ceiling before walls.
- Next, the plumber installs the sewage system, ensuring proper slope toward the septic tank.
- Important points:-
- – Install a backflow valve to allow sewage to flow to the septic tank and prevent pests or backflow.
- – Connect sewage to the street for future integration with the public sewer system, keeping the wall 2 meters away from pipes to avoid future excavation near the house.
- Before starting waterproofing, ensure all AC connections are clear and unobstructed.
- This part concludes the finishing stages from A to Z at the plastering stage, preparing for waterproofing and thermal insulation. Subsequent steps will be covered in the next article according to engineering standards.
************
At Ashpilia Arts, we strive to capture the beauty of the past in classical and modern architectural designs for palaces, villas, hotels, commercial projects, and hospitality projects, carefully selecting historic architectural styles including Roman, Greek, French, American, and others.
For inquiries about GRC works, you can follow the ( Ashpilia Arts ) page on social media platforms.
For more information, visit our website / Ashpilia Arts for Decoration Works.